
For all you crazy cat people out there, fellow sewing Blogger "Miss Crayola Creepy" brings us a Cat Lady sewing challenge. Within the month of October, sew an article of clothing made with fabric with cats on it. Someone who knows my weakness, obviously! She has a flickr group set up to for us to upload pictures of our finished projects. Not sure what to sew yet, so many ideas! I will have to think about it and post later.
Falmouth Classic Car Dream Cruise
Every September, the Falmouth Classic Car Club holds their "Dream Cruise" event, where vintage, classic and unique automobiles are on display to the public on Saturday, and then Sunday they drive around town strutting their stuff.
Of course you know this was on my son's calendar months in advance, and the weather last weekend was beautiful for it. There were way too many cars for me to go into detail about the history of each, so hopefully you can enjoy the pictures we took and some thoughts I had about some of the cars we saw. (There were many, many beautiful cars. I only chose a handful that I liked the best to post here)
I decided to wear the dress I made for the Mad Men sewing challenge last year (the lavender rose dress from McCall's pattern circa 1961) but with the exception of one of my vintage purses, I did not have time to accessorize or do my hair.

First up is a 1958 Chevy Impala. It's Pink! XOXOX
This car was a real beauty, I love the two tone pink & white they did. Original sticker price on this baby was approx. $2500. Six tail lights, eight headlamps, and it measures in at a whopping 17 1/2 feet.


 |
| ooooh, how many bodies do you suppose I could hide in this trunk? |

 Across the lot, We saw this 1963 Impala. I was amazed at how different looking the same car was after a mere 5 years. The length is still about 17.5 feet, the sticker price has gone up a few hundred dollars - with the exception of one model, a 4 door, 6 cylinder station wagon model priced at just above $2000. Says it seated 9 passengers! (told you there was room in the trunk!) I'm guessing that this was an economy model targeted towards families.


This pretty gold & white two-toned car is a 1957 Dodge Custom Royal.
 and it has tail fins (I'm a sucker for tail fins) Only 4 headlamps on this one, but still has 6 tail lights, but the top two are really small ones. Dodge only had these in production from 1955 to 1959, then it became a trim level for the Phoenix. I had trouble finding an original price for these cars.

 |
| It's all about the tail fins baby! |


This next car is a 1954 Chevrolet Corvette. We were sure that it was a custom built job, because this was one very odd body style. But no, to prove us wrong, there was a picture of the 'before' the rebuild showing how it looked. There is no front or rear bumper to speak of, it is all molded. It is a little hard to see, but the front headlights are recessed with a cage type thing in front of them. The tailights are bullet shaped, which was common for then with the atomic age just coming around. You can see the beginnings of the tail fin trend with a teeny little fin on top of them. The rear license plate is inset with a window. This was only available as a 2 door roadster. It still is a good 13 feet of length though. Original sticker price was about $2700. (interesting enough, the weight is about 2700 lbs - so that works out to $1 per pound of car! Cheaper than deli meat, I tell ya!)


 |
| The 'before restoration' photo, showing what a unique body style that was apparently all original. |

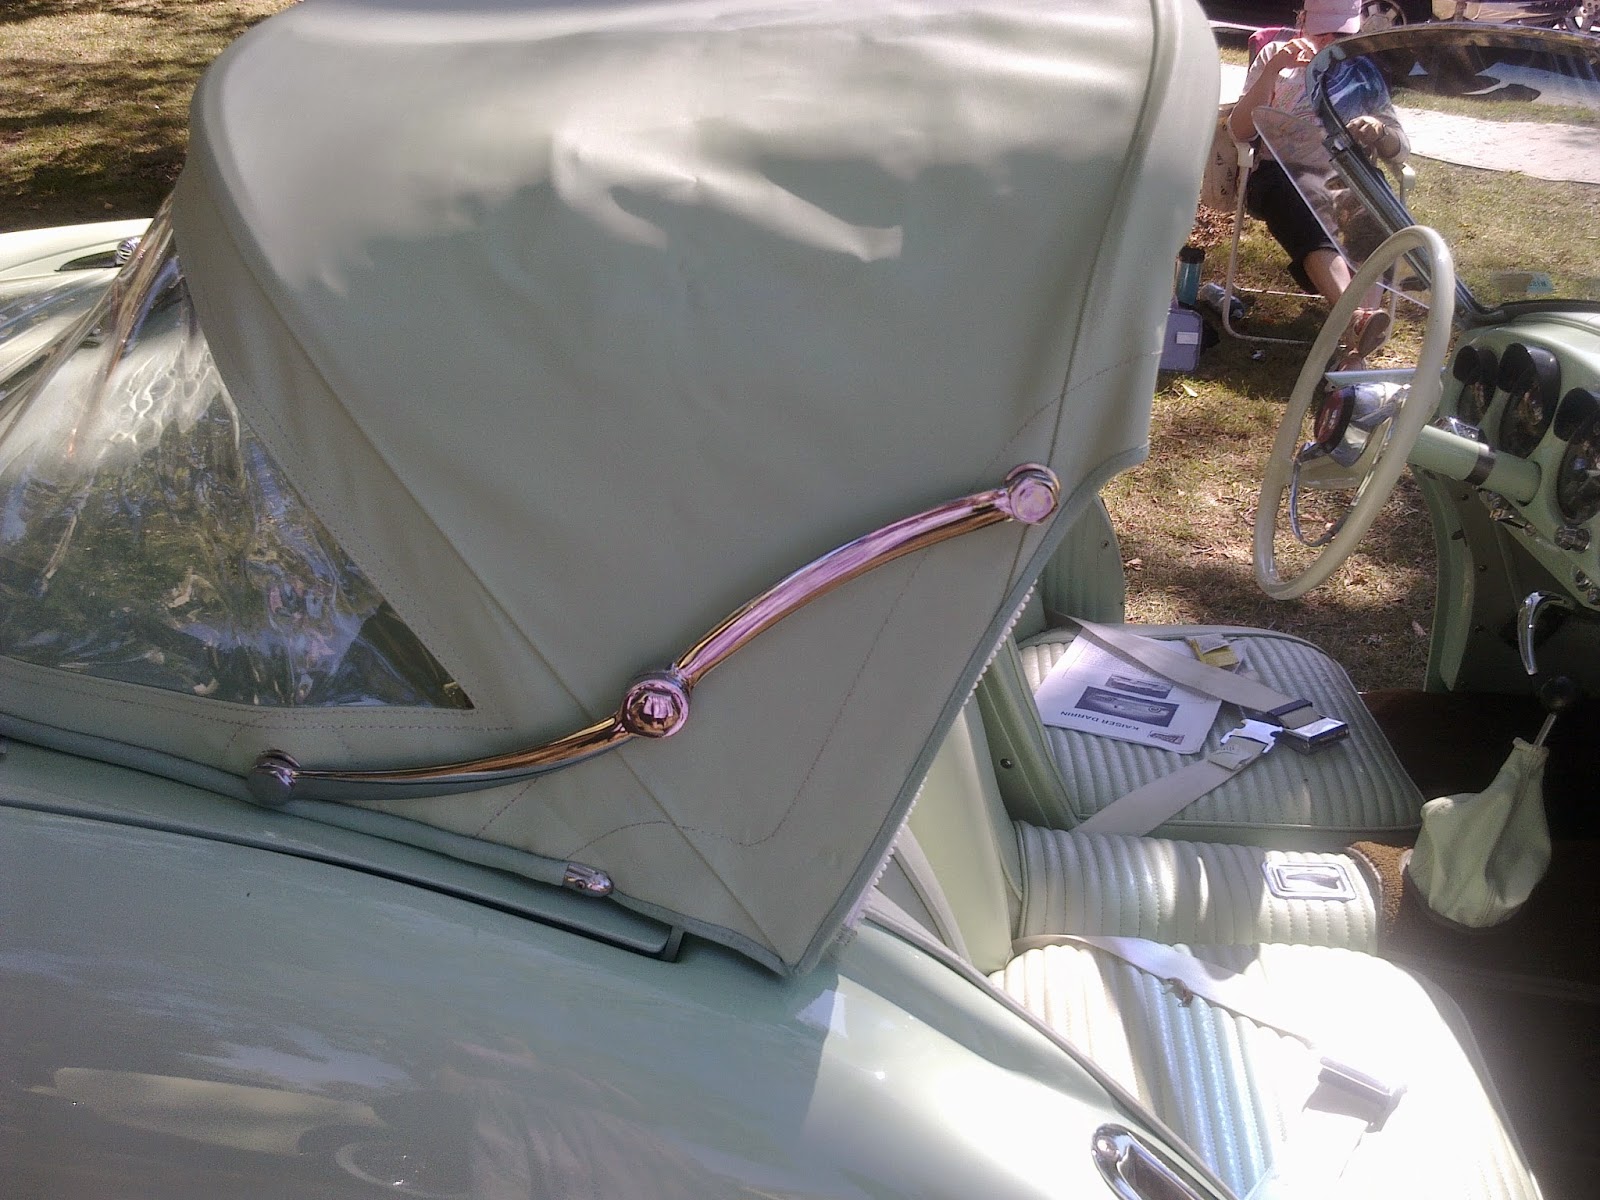
The next two cars here are 1954 Kaiser-Darrins', sitting next to eachother on the lot - one in a pretty lemon color, the other in a lovely lime. Made me think of sherbert! Was 1954 just the year for the strange looking cars? My Mom's father had a Frazer, which she described as being the 'working man's Kaiser'. They were made by the Kaiser Frazer company, and the Frazer models were a lot less showy. The Kaiser Darrin's as shown here are the first fiberglass sports car produced in the United States, beating even the Corvette (if only by a month). The original price on these models was about $3600, really pricey in those days- higher than even the Caddy and the Lincoln models at the time. It had lots of stuff - electric windshield wipers, tinted windows, whitewall tires, tachometer - little things that probably added to it's high cost. Apparently there were some other issues with the car as well: design flaws, mediocre performance (Alfa Romeo Spider, Jaguar, Nash-healy and other comparable sports cars of the time were much faster) Sadly, the company had produced many more than were sold. The company stopped selling in the US the following year. (Howard Darrin, the creator, bought a bunch of the surplus cars, souped them up using V8 engines (as used in Caddy Eldorados) multiple carborators, and superchargers, and remarketed them as 'specials' a few years later for $4350. These changes made the Specials go really fast.)


So there you have it, folks. Highlights of this years 'Dream Cruise' at least some of my favorites anyway. There were, unfortunately, no classic Cadillacs, to Peter's dismay.
Do you have a favorite classic? I'd love to hear about it! - Share in the comments below.
xo Yvonne
Awesome resource for original pricing and other data: http://www.oldride.com/index.html
Some info obtained on the Kaiser-Darrin's from: http://en.wikipedia.org/wiki/Kaiser_Darrin


