
Here's a little confession: Whenever I stop sewing or crafting for awhile, I begin to lose confidence in myself and wonder if I ever had much skill to begin with. Sometimes I need to just play with the fabric and patterns for awhile and tell myself that what I create doesn't need to be Coco Chanel or Vera Wang good, I just have to like it.
So when last I wrote about the "Sew for Victory" project, I had found 2 lovely patterns circa 1947 in my collection.


I planned to do the long sleeve blouse from the first and the skirt from the latter. I have some lovely dark red cotton fabric with little roses on it to use for the blouse, but haven't found or decided on any fabric for the skirt yet.
 |
| close up of the fabric |
Prepping the Pattern:
I mentioned that this is my first foray into the world of using a vintage pattern to sew with. I have collected them for years, and love to look at them and use the pictures for inspiration, but never actually got around to using one.
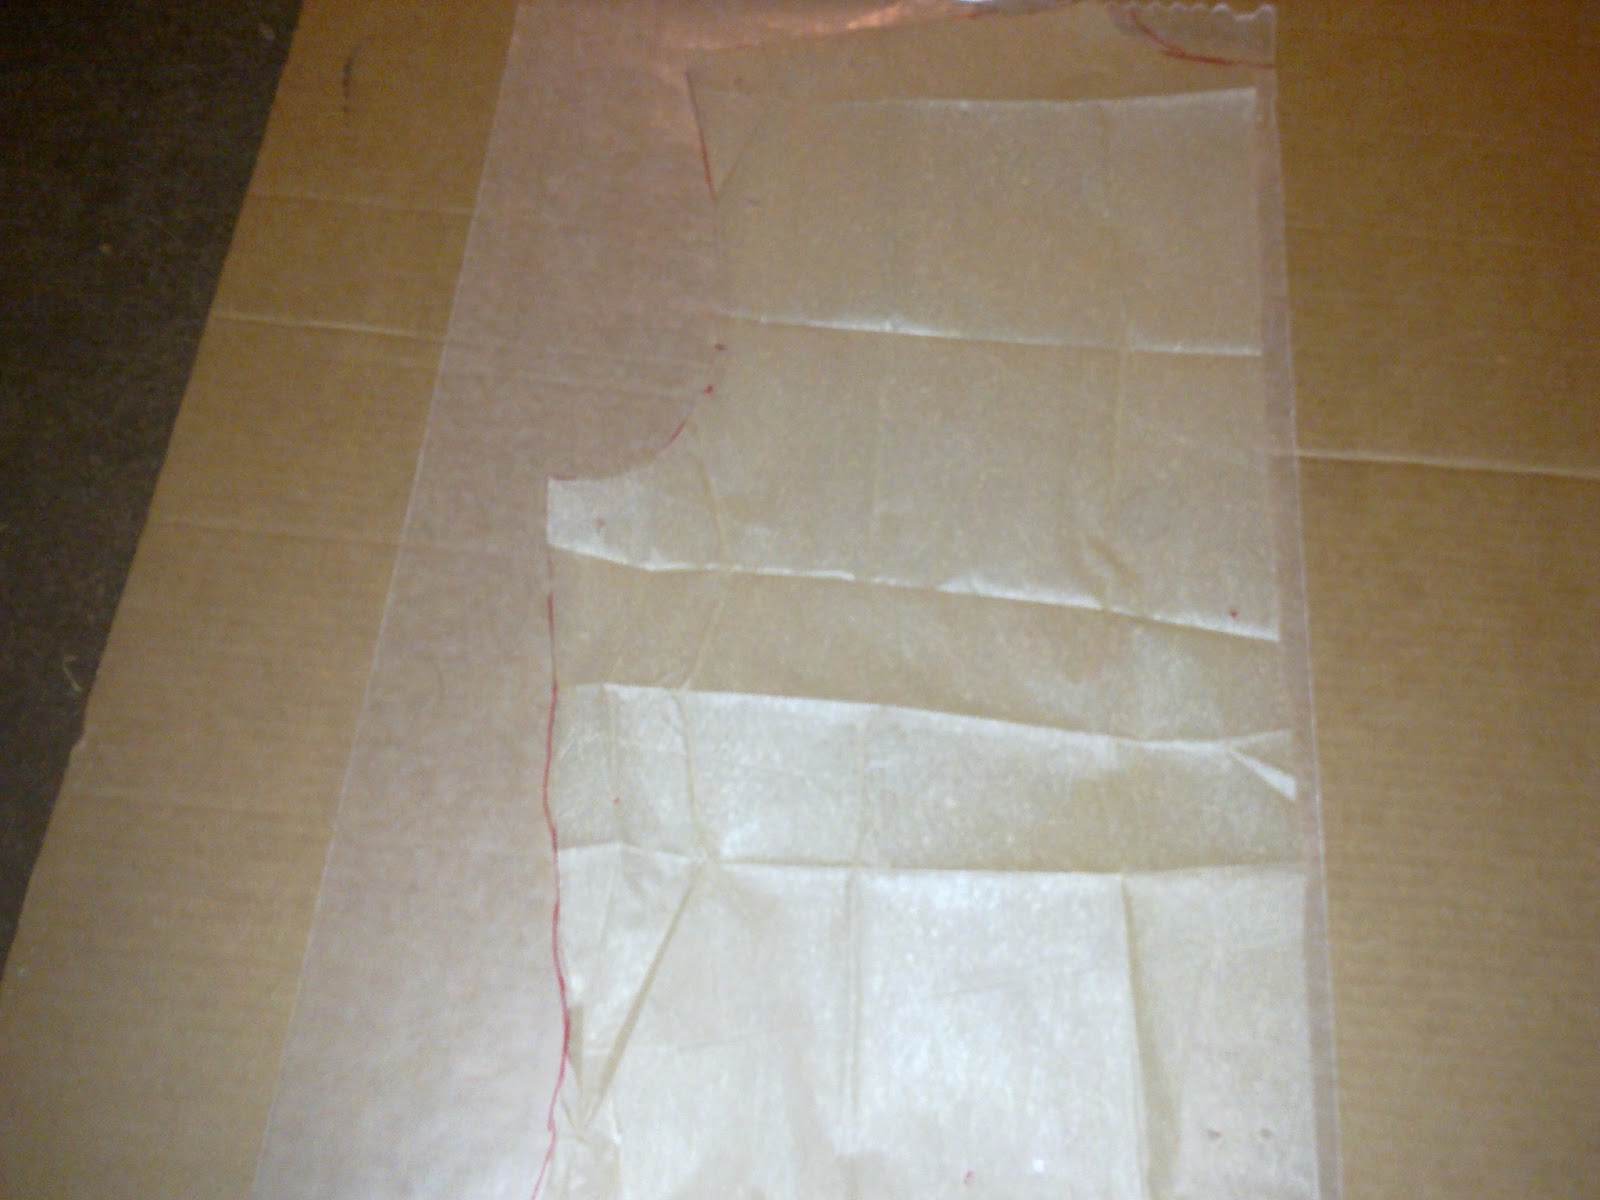
First off, I was taken by surprise - where were the lines? the seam allowance, grain lines, dart lines, all that handy-dandy info that they print on modern patterns was nowhere to be found... or was it? At first glance, the pieces looked like plain tissue paper with little holes punched in them. Upon further examination I found the little holes were actually strategically places and all the aforementioned information was right there in black and whi....er little punches.

Kind of hard to see, but there are also small holes around the edge to show where the seam allowance is, and also two sets of 3 holes - sewing lines for the darts.

These appear to be unused with the original factory folds... so I gather that unlike modern patterns, most of which are large rectangles of tissue that you have to cut the pattern pieces out of, these vintage pattern pieces come precut to the size mentioned on the envelope.
Now given that these lovely patterns are now near septuagenarians, I worry about handling them and sticking pins in and cutting them etc.
Here's a little trick I learned from my Mom : Wax Paper!
Some brands of modern pattern will sell a size range - example "A" would be sizes 4-8, "B" would be 8-12. and "C" would be 12-16 etc. The pattern pieces then have multiple lines around them with each line being a different size in the range (ends up looking a little like tree ring dating- concentric circles)
If you cut the size you need, you are then not able to use the pattern again for a larger size (which would be helpful if your kids like mine grew a size every other week!) This is where wax paper comes in handy - you trace the size you need on the wax paper, and thus preserve the original pattern piece for future use.
Wax paper is also more durable than the tissue paper, which tends to rip very easily, and comes in a nice long roll for about $2, where some patterns cost upwards of $10-$20. I've also found it helpful in close encounters of the feline kind (my kitty likes to help me sew, but sometimes her claws get in the way :(


Here comes Lightning, my steadfast kitty helper....she of course has noticed that I have spread out pattern pieces and lovely fabric and must come to take a look. (Thankfully by this point the original pattern has been copied and put away)

examining the fabric

giving her approval

 the fabric has passed the inspection
Here I have laid out the wax paper pattern pieces before cutting them out.


That's all I have for today kiddies, next stop sewing machine!
Do you have any pet helpers for your projects? I'd love to hear about them!
Thanks for reading.
I just wanted to pop in and tell you how much I like your finished project. I also sew with a cat!
ReplyDelete